Ir al contenido

The Cummoner - Part 4: Hard Lesson

The Cummoner - Part 4: Hard Lesson


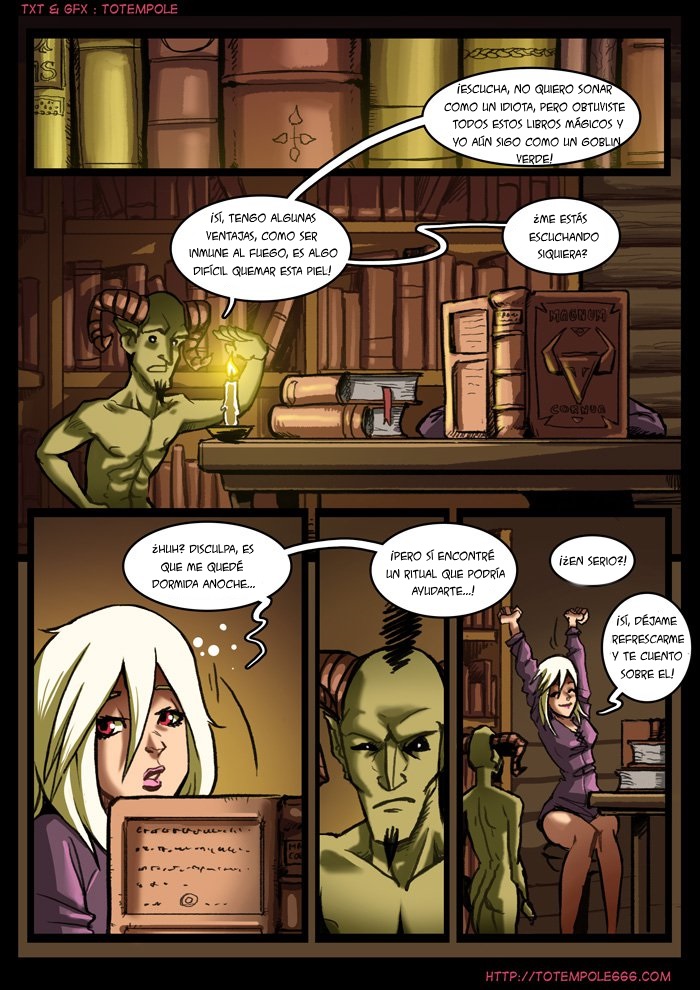
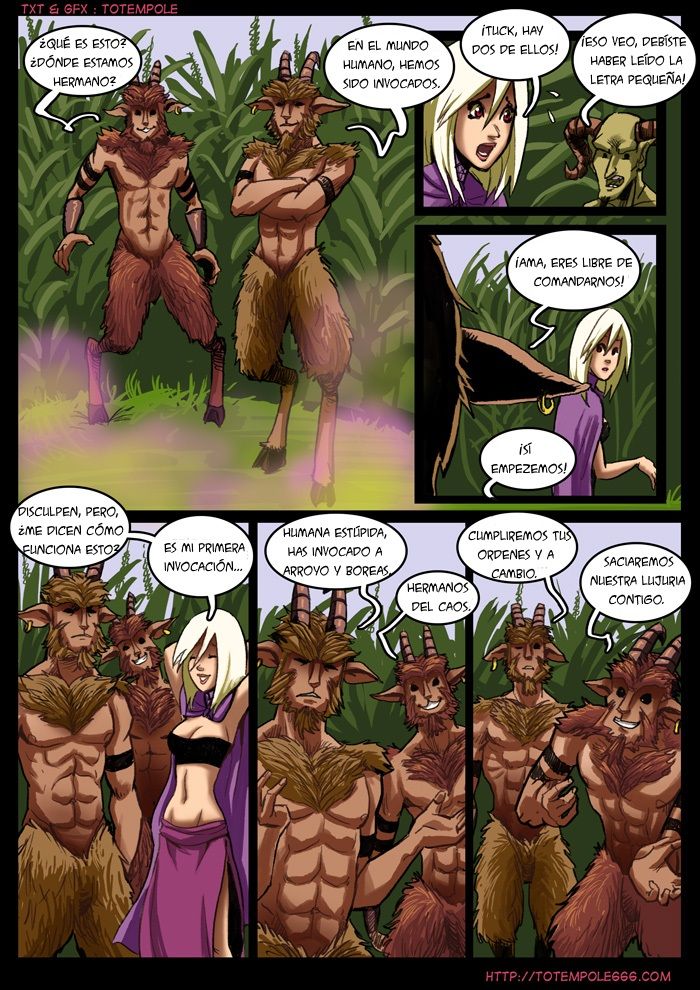
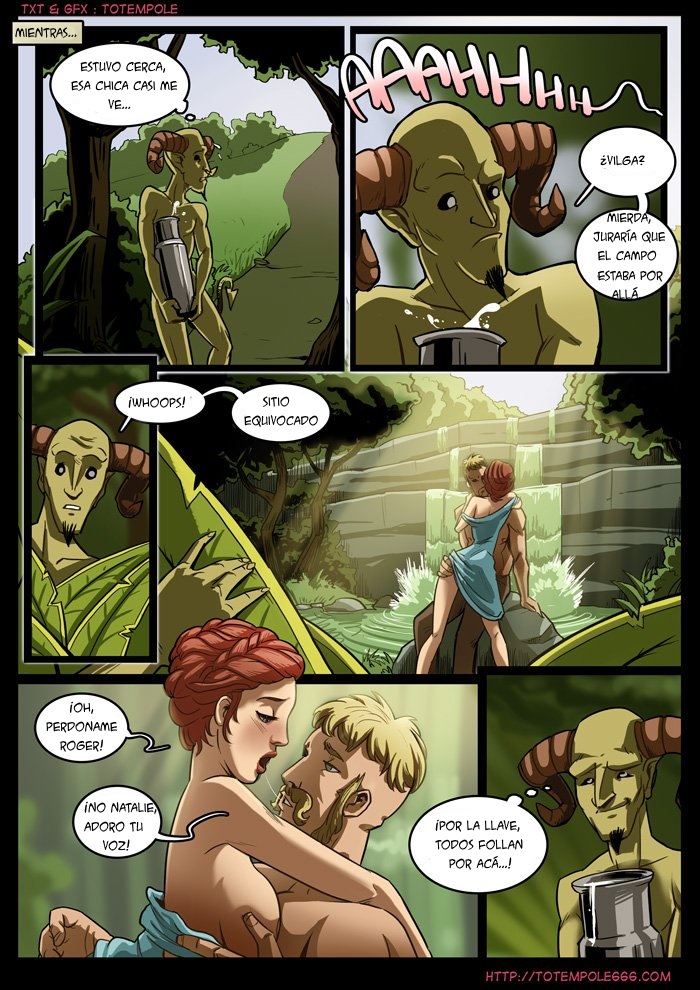
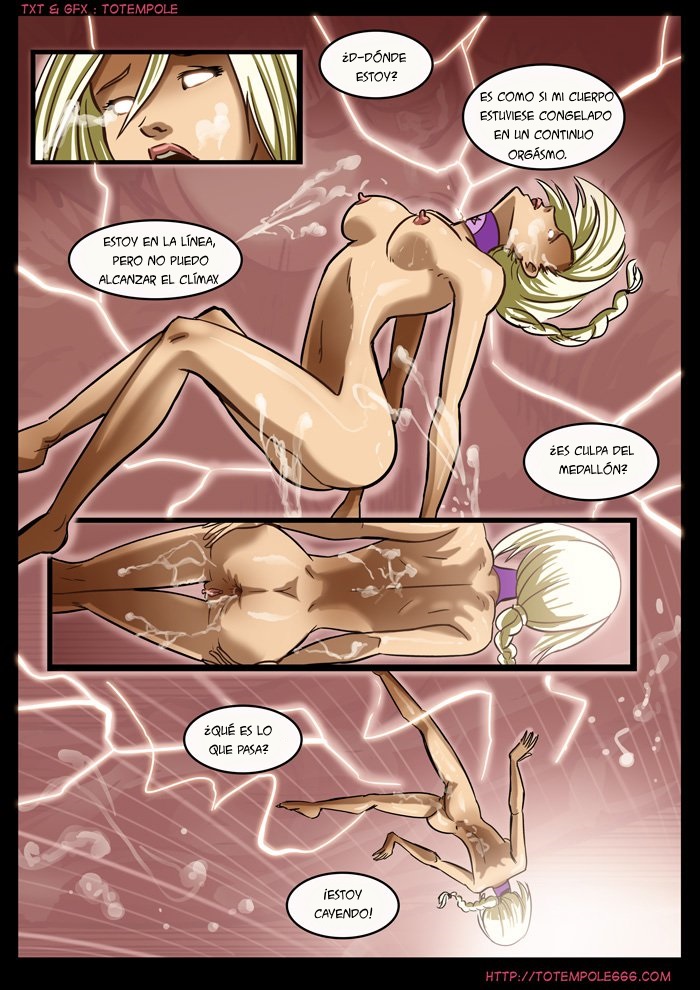
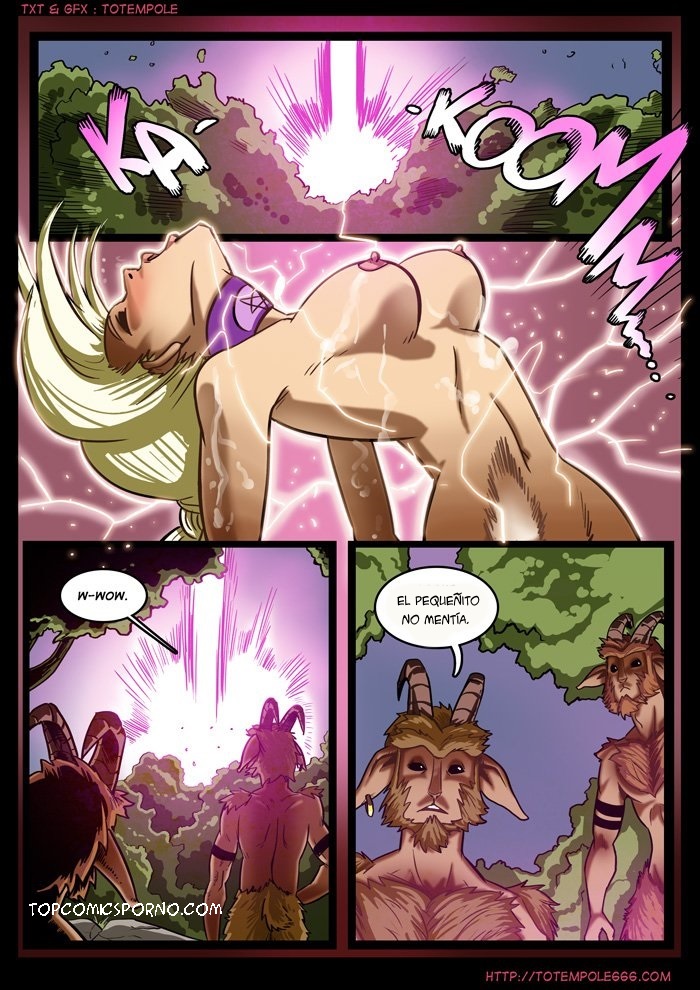
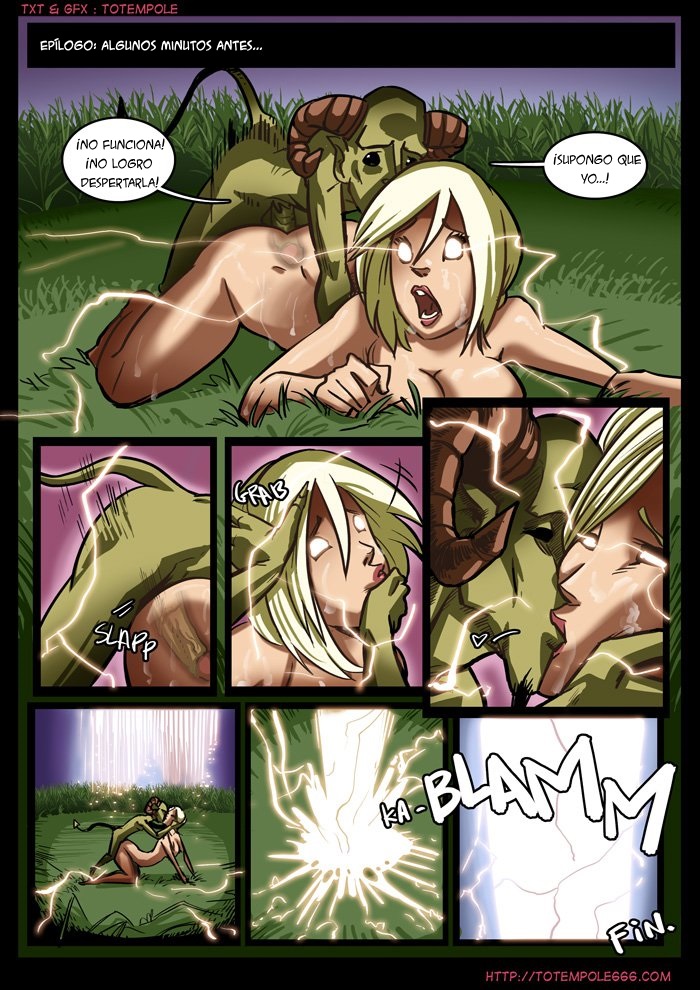
    The Cummoner - Part 4: Hard Lesson The Cummoner - Part 4: Hard Lesson image number 1 The Cummoner - Part 4: Hard Lesson image number 2 The Cummoner - Part 4: Hard Lesson image number 3
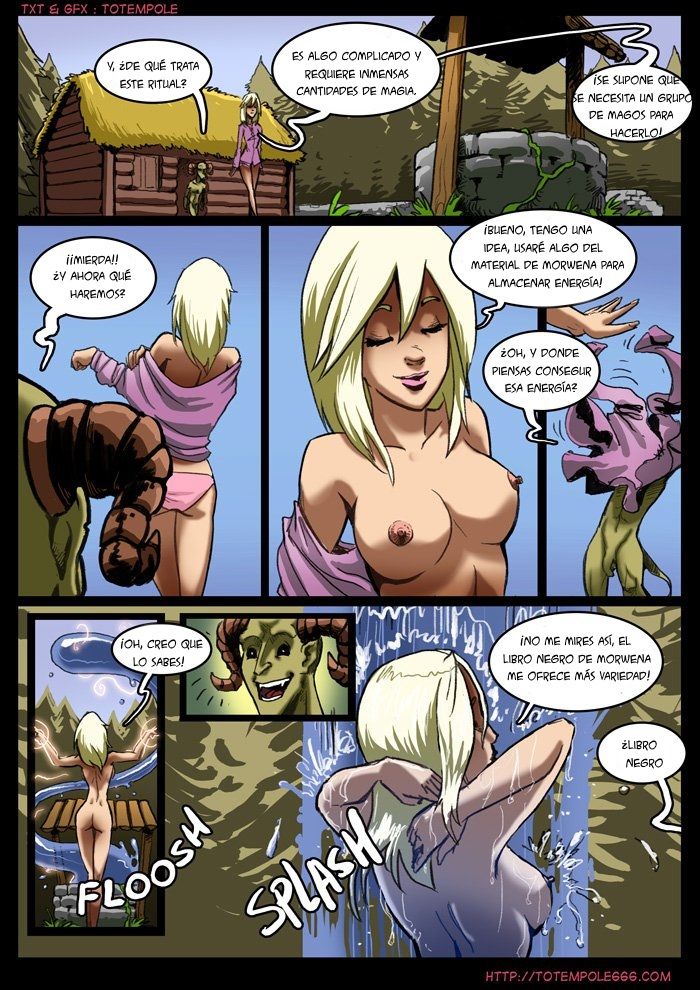
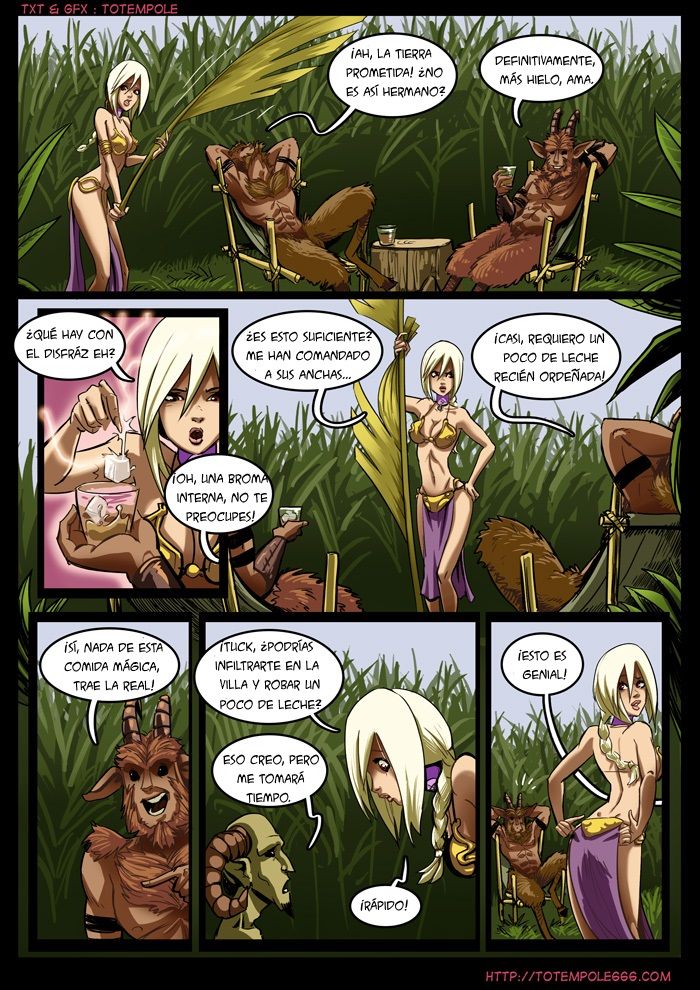
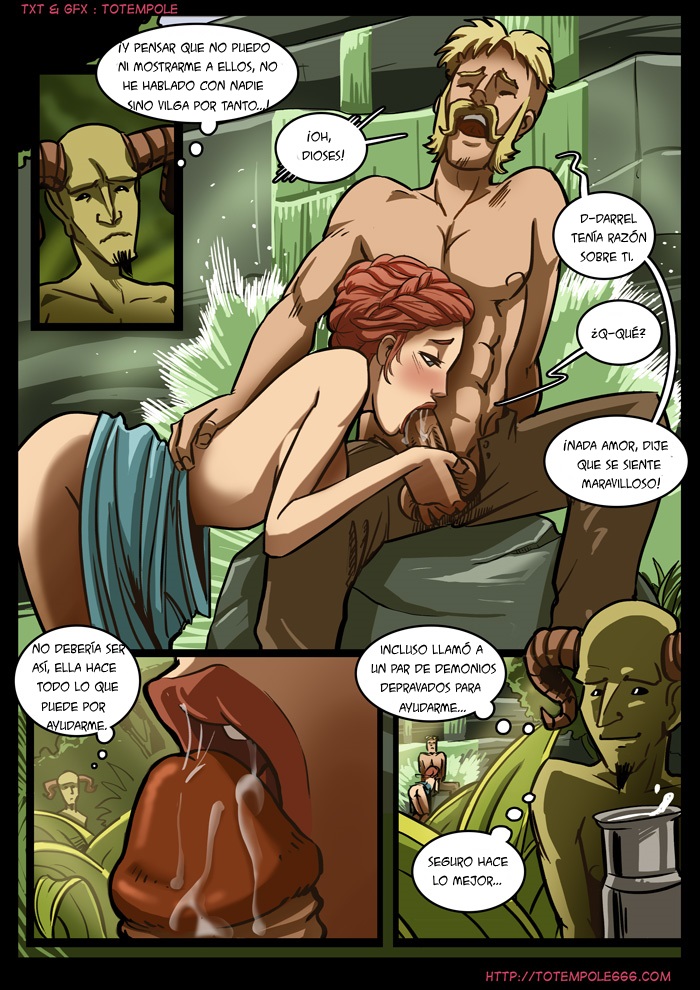
    The Cummoner - Part 4: Hard Lesson image number 4 The Cummoner - Part 4: Hard Lesson image number 5 The Cummoner - Part 4: Hard Lesson image number 6 The Cummoner - Part 4: Hard Lesson image number 7 The Cummoner - Part 4: Hard Lesson image number 8
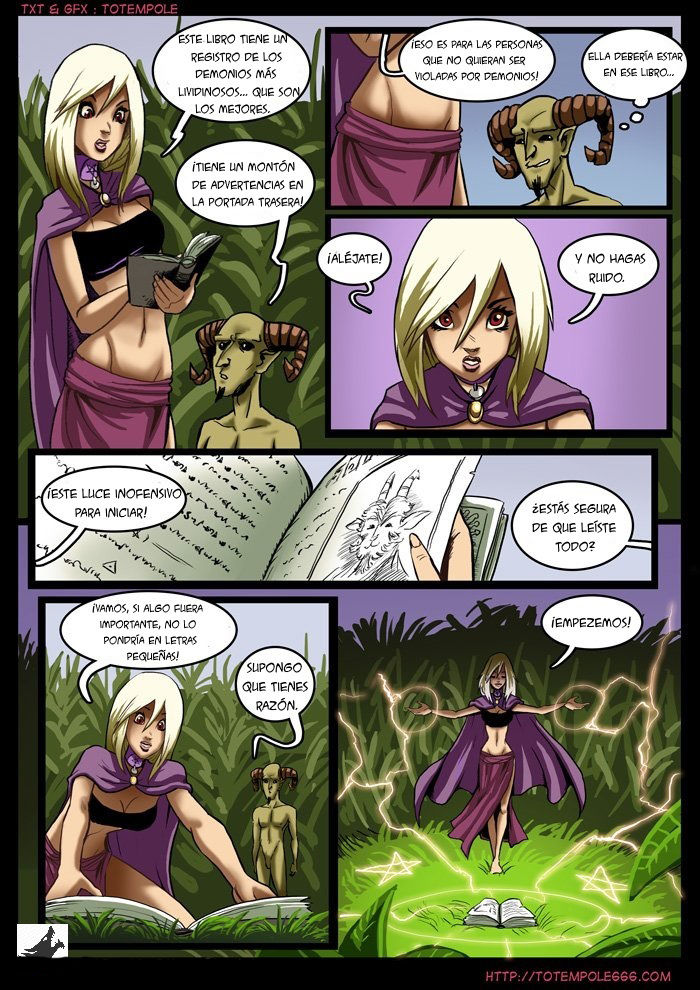
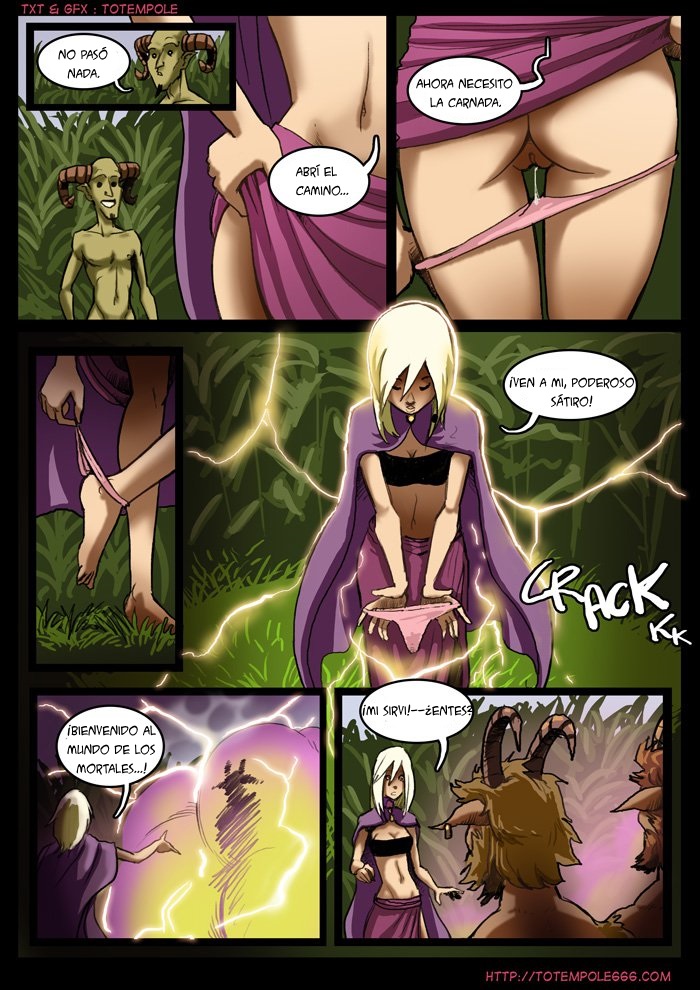
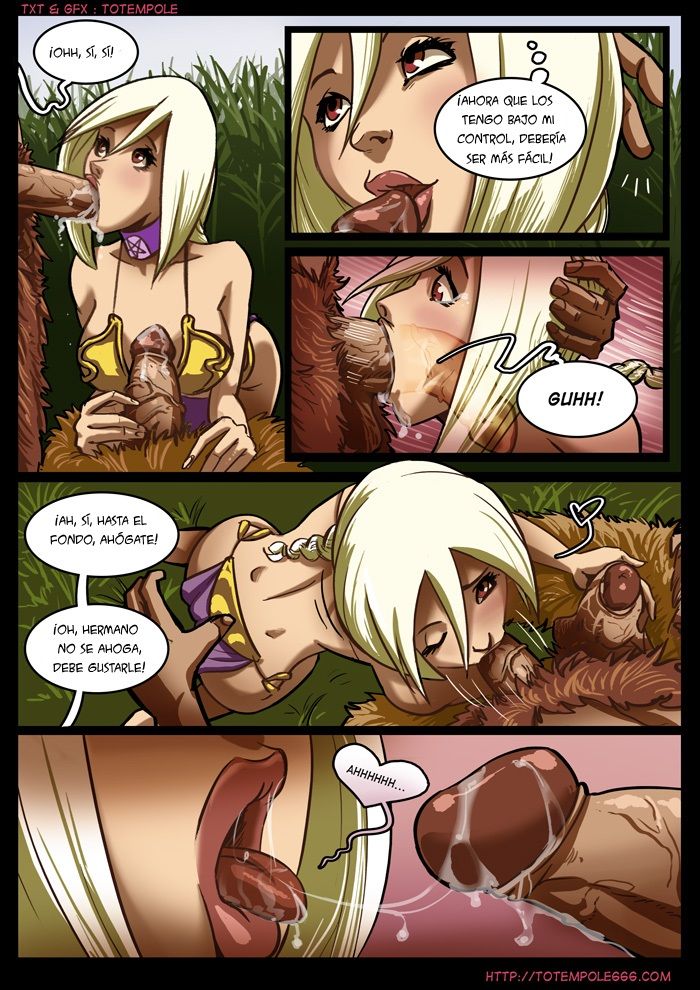
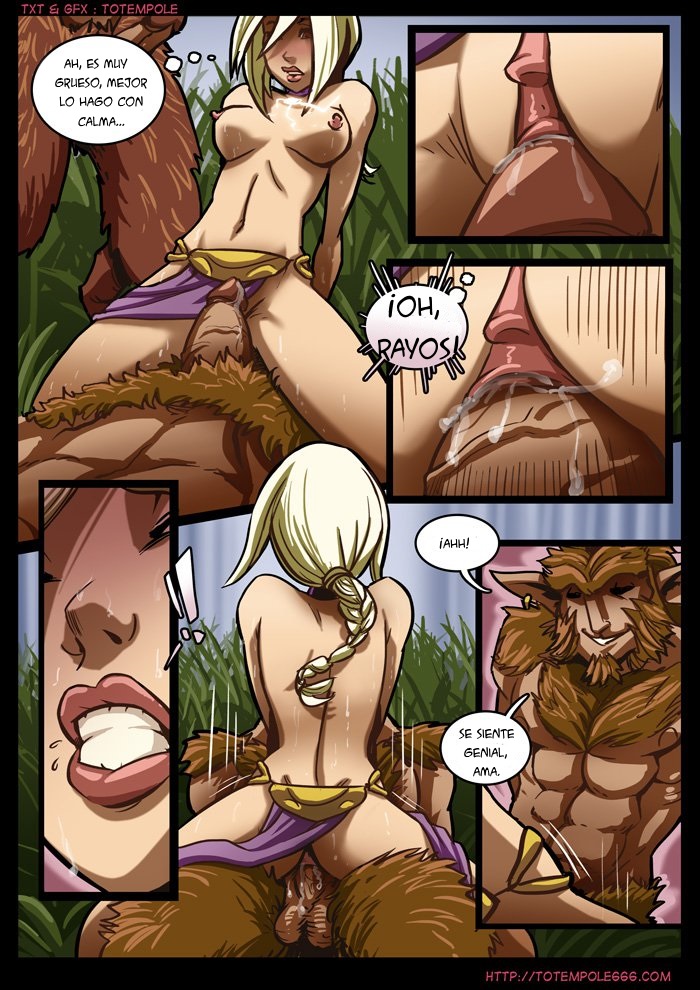
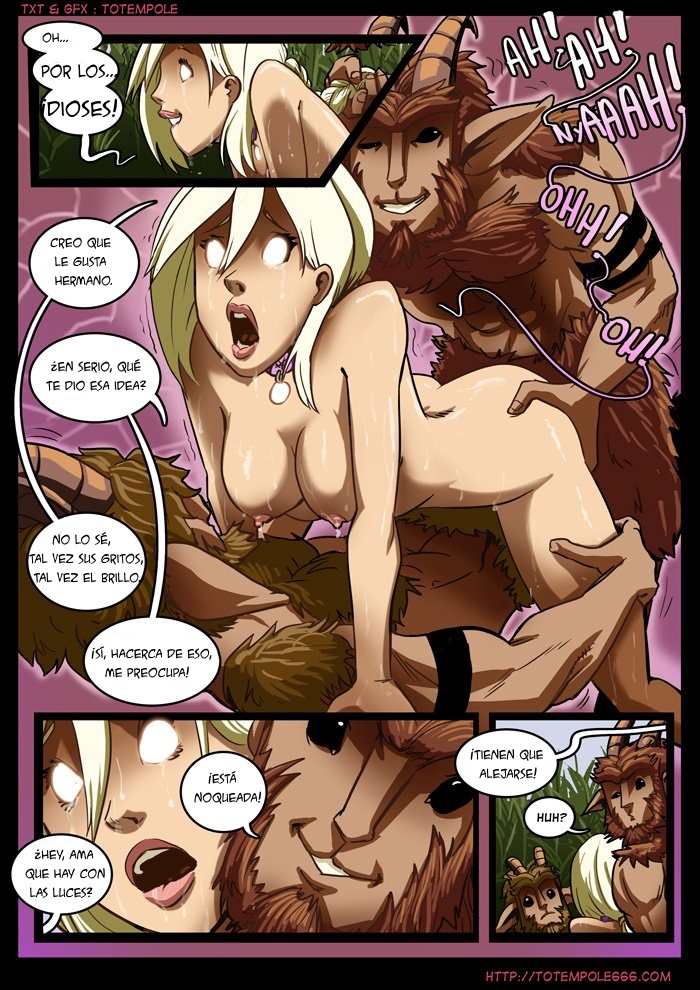
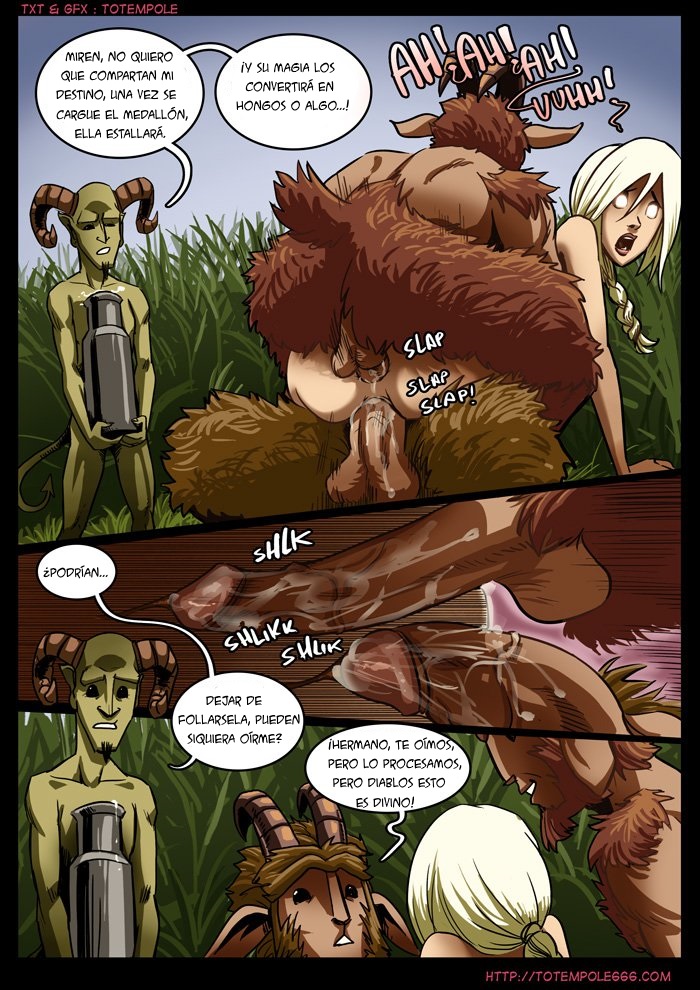
    The Cummoner - Part 4: Hard Lesson image number 9 The Cummoner - Part 4: Hard Lesson image number 10 The Cummoner - Part 4: Hard Lesson image number 11 The Cummoner - Part 4: Hard Lesson image number 12 The Cummoner - Part 4: Hard Lesson image number 13 The Cummoner - Part 4: Hard Lesson image number 14 The Cummoner - Part 4: Hard Lesson image number 15 The Cummoner - Part 4: Hard Lesson image number 16 The Cummoner - Part 4: Hard Lesson image number 17 The Cummoner - Part 4: Hard Lesson image number 18 The Cummoner - Part 4: Hard Lesson image number 19 The Cummoner - Part 4: Hard Lesson image number 20 The Cummoner - Part 4: Hard Lesson image number 21 The Cummoner - Part 4: Hard Lesson image number 22 The Cummoner - Part 4: Hard Lesson image number 23 The Cummoner - Part 4: Hard Lesson image number 24 The Cummoner - Part 4: Hard Lesson image number 25 The Cummoner - Part 4: Hard Lesson image number 26


Comentarios (0)
Escribir
ADD COMMENT
Copyright GregComic.com 2025
Descargo de responsabilidad: GregComic no posee, produce ni aloja los cómics que se muestran en este sitio web. Todos los cómics que se muestran están alojados en sitios web que no están bajo nuestro control.